ID Printers, Badges & Accessories

Using A Signature Pad In 11 Steps
For computer users who frequently add signatures to PDF and Word documents, a signature pad is a useful item. When you electronically add your signature using a signature pad, it eliminates unnecessary steps like document printing, physically signing the document, and then scanning it/filing it again. (Quality can sometimes be reduced by scanning, so signature pads also help preserve the quality of your original document.)
Once you start the installation of signature capture software and the signature pad, plug-ins are added to applications like Adobe Acrobat and Microsoft Word. That way, within the programs, it's easy to add a signature.
Here's a step-by-step guide to installation and then using signature pads.
First Connection
If it's not already connected, connect to the tablet and the USB cable.
Next Connection
Now the other end of the USB cable should be connected to one of your computer’s open USB ports.
Software
Along with the tablet, you received a software installation disk. It's time to insert that. To complete the software installation, follow the on-screen prompts.
How to Use Your New System to Sign Documents
As suggested earlier, you can automatically apply this signature for documents in Acrobat or Microsoft Word.
Acrobat Documents
- At the top of the Adobe Acrobat window, click "edit" in the toolbar and then choose "preferences".
- Now choose "security" and then "advanced preferences".
- Click the "default method for verifying signatures" drop-down box. Your signature tablet should now be chosen. Click the tab for "creation" and choose the signature tab from the “default method to use when signing and encrypting documents" drop-down box. To save your changes, click "okay”.
- In the toolbar (after opening the Acrobat document) click "sign". "Create a blank signature field" should then be chosen.
- To the place where you'd like it located in the document, click and drag the signature field. If necessary, you can resize it by clicking and dragging the corners.
- “Hand tool" can then be double-clicked. At the top edge of the signature box, click the marker. This will open the signature window.
- If you make a mistake, press “erase”. When satisfied, click “accept”.
Microsoft Word Documents
- First, your Microsoft word document should be opened, and then, in the location where you'd like your signature to appear, place the cursor.
- In the toolbar, click the "pencil" icon to open the signing window.
- On the tablet’s signing surface, to write your signature, use the tablet pen. Look at the screen to check your results. To erase it, press "cancel" and retry.
- To add the signature to your document, click "done".
Need Signature Cards? Shop at 3iD Management
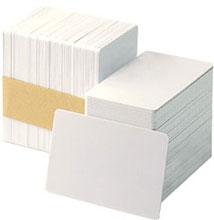
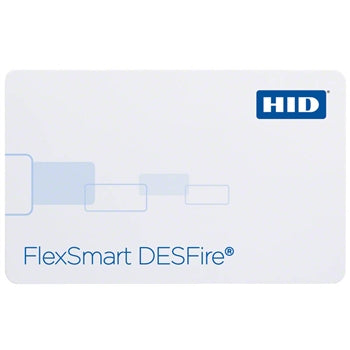
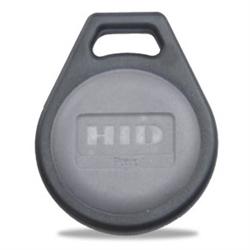
At 3iD Management, we want to be your trusted source for ID printers, badges, and accessories. We have numerous 3iD cards in stock (which work with HID readers) with lifetime warranties. Need to locate a particular printer? We’ll walk you through our selection and help you find the right one. Whatever ID printer supplies you need, we can be of assistance with those, too.
We carry the following items:
- Badge accessories
- ID software and photo capture
- ID printer supplies
- Badging systems
- ID card printers
- Visitor badges
- ID cards
Feel free to contact our customer care team at 800-316-7304 if you have any questions.


